Website Migration Best Practices - Zero-Downtime Transfer Guide

Introduction: Why Website Migration Matters
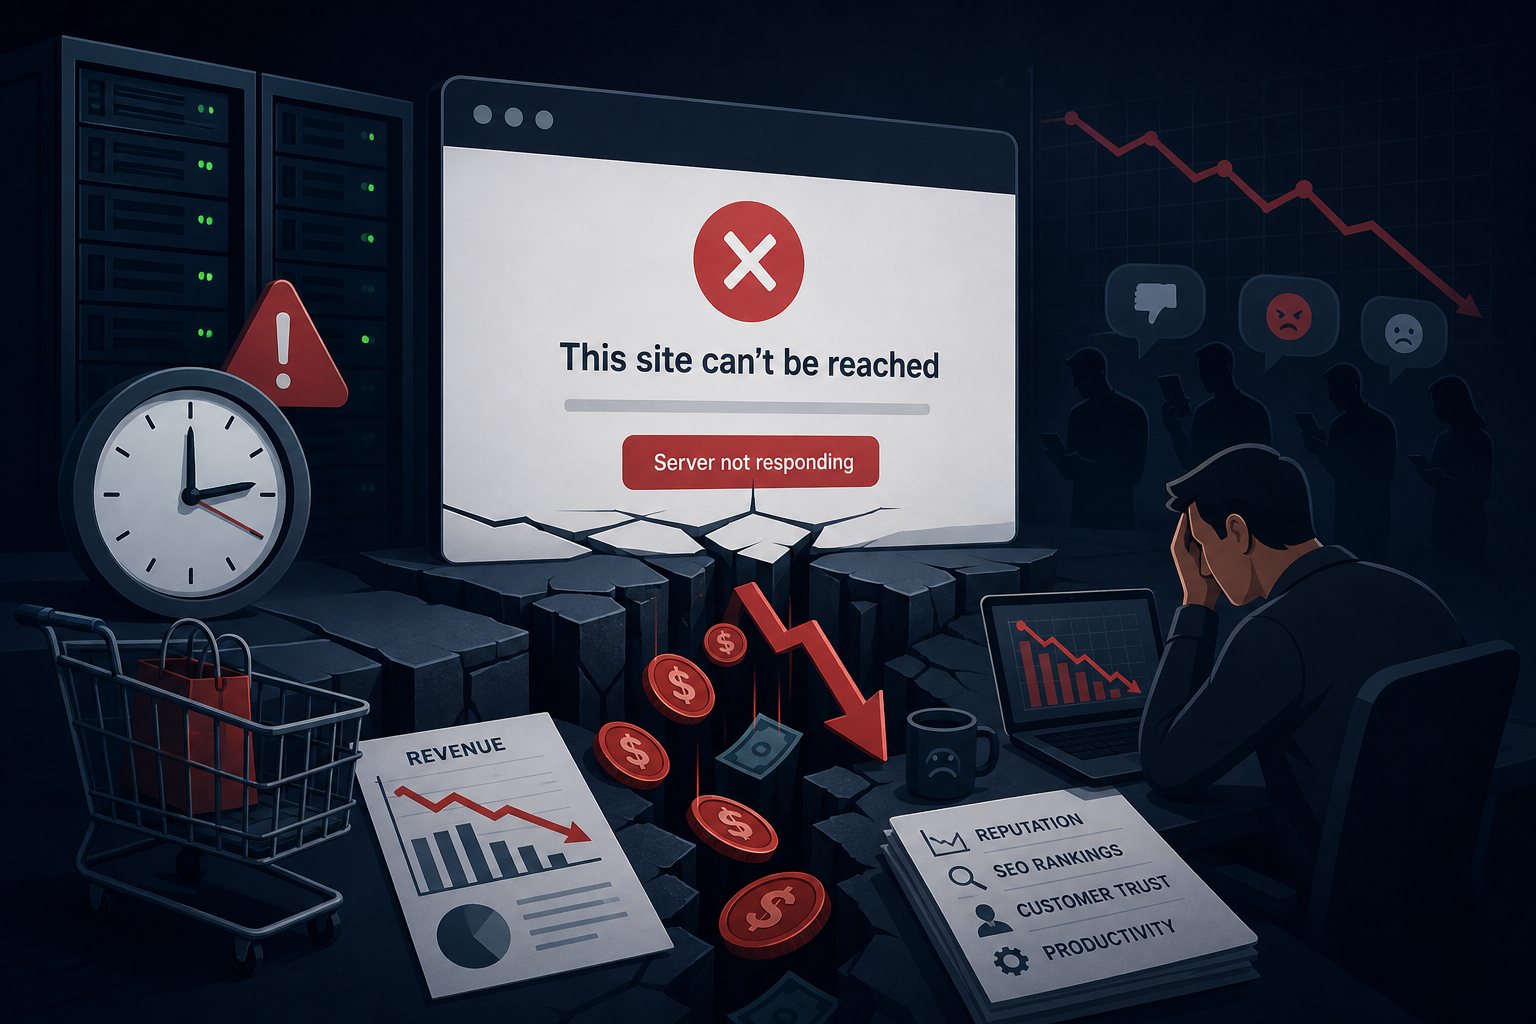
Migrating a website from one hosting provider to another can be stressful. One wrong move and your site could go offline, lose data, or suffer SEO penalties. Whether you're moving to better hosting, upgrading infrastructure, or leaving an unreliable provider, proper planning ensures a smooth transition.
This comprehensive guide walks you through every step of website migration, from initial planning to post-migration optimization. Follow these best practices to achieve zero-downtime migration and avoid common pitfalls.
Pre-Migration Planning
Audit Your Current Website
Before touching anything, document your current setup:
- Website files: Total size, number of files, directory structure
- Databases: Database engines (MySQL, PostgreSQL), sizes, number of tables
- Email accounts: Number of mailboxes, total email storage
- Domain configuration: DNS records, nameservers, MX records
- SSL certificates: Type, issuer, expiration date
- Cron jobs: Scheduled tasks and their timing
- Third-party integrations: APIs, payment processors, CDNs
- Current traffic patterns: Peak hours, average daily visitors
Choose the Right Migration Window
Select a migration time that minimizes impact:
- Identify lowest-traffic periods (typically late night or early morning)
- Avoid peak business hours and high-traffic days
- Check your analytics for seasonal traffic patterns
- Allow extra time buffer for unexpected issues
- Plan for 2-4 hours minimum, even for small sites
Prepare Your New Hosting Environment
Set up your new server before migration:
- Provision hosting account with appropriate resources
- Install required PHP version and extensions
- Configure database servers
- Set up email accounts
- Install SSL certificates
- Configure server software (Apache, Nginx, etc.)
Step-by-Step Migration Process
Step 1: Create Complete Backups
Never migrate without current backups. Create multiple backup copies:
# Backup website files
tar -czf website-backup-$(date +%Y%m%d).tar.gz /path/to/website/

# Backup database
mysqldump -u username -p database_name > database-backup-$(date +%Y%m%d).sql

# Or use your hosting control panel backup tools
Verification: Download backups to your local computer and verify they're not corrupted.
Step 2: Transfer Website Files
Multiple methods for transferring files:
Method 1: Direct Server-to-Server Transfer (Fastest)
# From new server, pull files from old server
rsync -avz -e ssh olduser@oldserver.com:/path/to/files/ /new/path/

# Or use SCP
scp -r olduser@oldserver.com:/path/to/files/ /new/path/
Method 2: Via Local Computer
- Download from old server via FTP/SFTP
- Upload to new server via FTP/SFTP
- Useful for small sites or when direct transfer isn't possible
Method 3: Using Control Panel Tools
- cPanel: Use "Backup Wizard" to download, then restore on new server
- Many hosts provide migration tools or services
Step 3: Migrate Databases
Export from old server:
# Export database
mysqldump -u username -p database_name > database.sql

# For large databases, compress the export
mysqldump -u username -p database_name | gzip > database.sql.gz
Import to new server:
# Create database on new server first
mysql -u username -p -e "CREATE DATABASE database_name CHARACTER SET utf8mb4 COLLATE utf8mb4_unicode_ci;"

# Import database
mysql -u username -p database_name < database.sql

# Or if compressed:
gunzip < database.sql.gz | mysql -u username -p database_name
Step 4: Update Configuration Files
Update your application configuration with new server details:
For WordPress (wp-config.php):
define('DB_NAME', 'new_database_name');
define('DB_USER', 'new_database_user');
define('DB_PASSWORD', 'new_database_password');
define('DB_HOST', 'localhost'); // or new database host
For other CMSs or custom applications: Update database credentials, file paths, and API endpoints as needed.
Step 5: Test on New Server Before Going Live
Critical step: Test everything before switching DNS.
Method 1: Hosts File (Recommended for Testing)
Edit your local computer's hosts file to point your domain to the new server IP:
# On Mac/Linux: /etc/hosts
# On Windows: C:WindowsSystem32driversetchosts

# Add this line:
123.456.789.012 yourdomain.com www.yourdomain.com
Now when you visit yourdomain.com from your computer, you'll see the new server.
Method 2: Temporary URL
Many hosts provide temporary URLs like: http://123.456.789.012/~username or http://temp-domain.newhost.com
What to Test:
- Homepage loads correctly
- All pages accessible and formatted properly
- Images and media files display
- Forms submit successfully
- Login functionality works
- Shopping cart and checkout (for e-commerce)
- Database connections working
- Email sending (test contact forms)
- SSL certificate active and working
- Admin/backend access functioning
Step 6: Lower DNS TTL (Time To Live)
Do this 24-48 hours before migration:
- Log into your domain registrar or DNS manager
- Find TTL settings for your DNS records
- Lower TTL from typical 86400 (24 hours) to 300 (5 minutes)
- Wait for old TTL period to expire before proceeding
This ensures DNS changes propagate quickly when you switch servers.
Step 7: Switch DNS Records
When ready to go live, update DNS to point to new server:
Update A Records:
# Old A record:
@ (or yourdomain.com)  A  111.222.333.444

# Change to new server IP:
@ (or yourdomain.com)  A  123.456.789.012

# Also update www subdomain:
www  A  123.456.789.012
Check Other DNS Records:
- MX Records: Update if email hosting is changing
- CNAME Records: Verify subdomains point correctly
- TXT Records: Ensure SPF, DKIM, DMARC records are current
Step 8: Monitor DNS Propagation
DNS changes take time to propagate globally. Use these tools to monitor:
- WhatsMyDNS.net - Check global DNS propagation
- DNS Checker - Verify DNS records worldwide
# Check DNS from command line:
dig yourdomain.com
nslookup yourdomain.com

# Check which server you're hitting:
curl -I http://yourdomain.com
Expect 15 minutes to 48 hours for complete global propagation, though most resolve within 1-2 hours.
Step 9: Keep Old Server Active
Do not cancel old hosting immediately. Keep both servers running in parallel for 7-14 days:
- Some visitors may still resolve to old server during DNS propagation
- Provides rollback option if critical issues discovered
- Allows email to be retrieved from old server
- Ensures no data loss during transition
Consider setting up database replication or periodic syncing during this overlap period for sites with frequent updates.
Post-Migration Tasks
Verify Everything Works
Comprehensive post-migration checklist:
- Test all website functionality from multiple devices
- Verify SSL certificate working (check for HTTPS)
- Test all forms and user interactions
- Check email sending and receiving
- Verify cron jobs running on schedule
- Test file uploads and media management
- Review server logs for errors
- Check Google Search Console for crawl errors
Performance Optimization
Take advantage of fresh start to optimize:
- Enable caching: Configure server-level and application-level caching
- Optimize images: Compress and properly size images
- Enable compression: Gzip/Brotli for text files
- CDN setup: Implement content delivery network if appropriate
- Database optimization: Clean up and optimize database tables
Update Third-Party Services
Notify services that may have cached your old IP:
- CDN providers: Clear cache and update origin server
- Monitoring services: Update server IP addresses
- Backup services: Reconfigure to point to new server
- Email services: Update SMTP settings if changed
- Payment processors: Update IPN/webhook URLs
SEO Considerations
Protect your search rankings:
- Verify Google Search Console: Verify new server IP ownership
- Submit sitemap: Resubmit XML sitemap to search engines
- Check for 404 errors: Fix any broken links discovered
- Monitor rankings: Watch for unusual ranking changes
- Site speed: Run speed tests; Google values fast sites
Proper migration shouldn't hurt SEO, but monitor closely for the first few weeks.
Common Migration Pitfalls to Avoid
1. Not Testing Thoroughly
Most migration problems come from inadequate testing. Always test exhaustively before switching DNS.
2. Forgetting Email Migration
Email accounts and configurations often overlooked. Plan email migration separately:
- Export email from old server
- Set up email accounts on new server before DNS change
- Use IMAP to keep email accessible during transition
3. Not Checking PHP/MySQL Versions
Compatibility issues common when old server runs different software versions. Ensure new server meets application requirements.
4. Hardcoded URLs
Databases often contain hardcoded URLs. Search and replace old URLs:
# For WordPress, use WP-CLI:
wp search-replace 'http://olddomain.com' 'https://newdomain.com'

# Or for databases generally:
UPDATE wp_posts SET post_content = REPLACE(post_content, 'http://olddomain.com', 'https://newdomain.com');
5. Canceling Old Hosting Too Soon
Keep old hosting active for at least 7-14 days. Better safe than sorry.
6. Not Monitoring After Migration
Set up monitoring immediately:
- Uptime monitoring (Pingdom, UptimeRobot)
- Error log monitoring
- Performance monitoring
- Traffic analytics
When to Hire Professional Migration Services
Consider professional help for:
- Large, complex sites: Multiple databases, custom code
- E-commerce sites: Can't afford any downtime or data loss
- Mission-critical applications: Business depends on site availability
- Limited technical expertise: Not comfortable with command line and server configuration
- Custom applications: Complex integrations requiring specialized knowledge
Falcon Internet offers professional website migration services with zero-downtime guarantees.
Migration Checklist
Pre-Migration (1-2 weeks before):
- Audit current website setup
- Choose migration date and time
- Set up new hosting environment
- Test new server configuration
- Lower DNS TTL values
- Create comprehensive backups
- Document current DNS settings
During Migration:
- Create final backups
- Transfer website files
- Migrate databases
- Update configuration files
- Test thoroughly using hosts file
- Update DNS records
- Monitor DNS propagation
Post-Migration (1-2 weeks after):
- Verify all functionality
- Check error logs
- Update third-party services
- Monitor performance
- Verify email delivery
- Check SEO metrics
- Keep old hosting active
- Raise DNS TTL back to normal
Conclusion
Website migration doesn't have to be scary. With proper planning, thorough testing, and careful execution, you can achieve zero-downtime migration and even improve your site's performance in the process.
Key takeaways:
- Plan thoroughly and document everything
- Always maintain current backups
- Test exhaustively before switching DNS
- Lower TTL values before migration
- Keep old hosting active during transition period
- Monitor closely after migration
Ready to migrate to better hosting? Contact Falcon Internet for a free migration consultation. We offer free migration services with all new hosting accounts, including VPS, dedicated servers, and managed hosting.